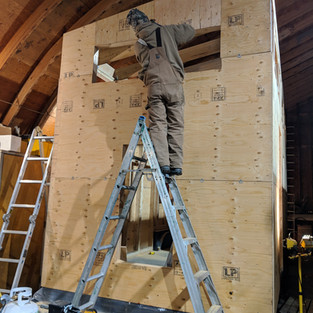
The sheeting went up pretty quickly. We used 3/8" plywood for the walls, and included H clips for stability. We decided to sheet the whole thing, then router out the windows after, a task that was MUCH easier (in my opinion) than sheeting around the windows. This created a bit of wasted plywood, but we were actually able to use a lot of those pieces when we did the interior sheeting (especially in small spaces around the outlets and up in the lofts). We used screws to affix the sheets to the framing, and it was a lesson in humility, realizing that my eyeballing a straight line along a stud behind the sheeting was, in fact, WAY off. There were far too many occasions where I'd screw on a sheet, only to go inside the house and realize that half of my screws missed the stud by a good half an inch... But that's the good thing with screws, I guess: they're easy to take out and try again! :)
We used 1/2" plywood on the roof, as I want to add a metal roof afterwards. Remember on my last post how our framing was off by half an inch from one side to the other? Well, that created a bit more work when we were sheeting, as sheets of plywood AREN'T off by half an inch, so we ended up having to taper the middle filler piece along the roof accordingly. I think this added character...haha. In the end, we now have a shell of a house! Yay!


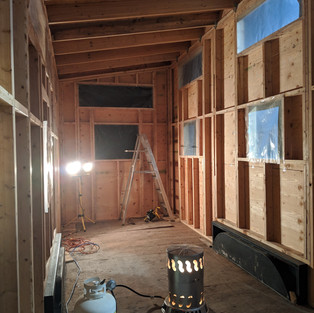


We stapled poly around the windows and door to keep the heat in for those cold winter days, and I was surprised how quickly the place warmed up with a small propane heater. Don't worry, we allowed fresh air in so as to not suffer from carbon monoxide poisoning!
Comentários